1
/
of
1
Herb Seed- Oregano
Herb Seed- Oregano
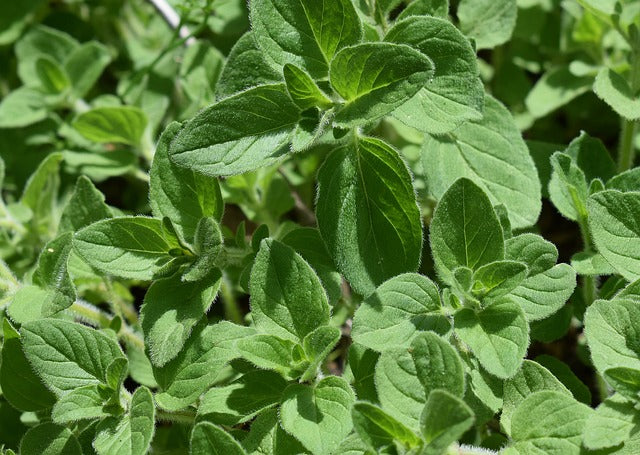
Enhance your cooking with the fragrant and versatile Oregano seed. This popular herb adds flavor to a variety of dishes, from soups and sauces to meat and fish. Easy to grow in an indoor or outdoor herb garden, its dark green leaves and attractive flowers will also attract pollinators.
Origanum vulgare
Regular price
$2.50
Regular price
Sale price
$2.50
Unit price
/
per
Couldn't load pickup availability
Quick Facts
Quick Facts
- Days to Maturity: 90-200
- Light Requirement: Full Sun
- Mature Spread: 12-16 in
- Mature Height: 12-24 in
- Seed method: Indoor/ Direct
- Seed/packet: approx. 200
- Seeds/oz: approx. 279,200
Growing Oregano
Growing Oregano
- Plant seeds indoors 6-10 weeks prior to the final spring frost.
- Sow seeds ¼ inches deep.
- Maintain soil moisture at 70°F Seedlings appear in 10-21 days
- When seedlings appear, give them sufficient light on a sunny windowsill or under grow lights.
- Seedlings require minimal fertilizer, provide nutrients when they reach 3-4 weeks old
- Before planting in the garden, seedling plants need to be “hardened off”. Accustom young plants to outdoor conditions by moving them to a sheltered place outside for a week. Be sure to protect them from wind and hot sun at first. If frost threatens at night, cover or bring containers indoors, then take them out again in the morning. This hardening off process toughens the plant’s cell structure and reduces transplant shock and scalding.
Sowing Directly in the Garden:
- Plan to seed directly in adequate soil under full sun once all frost danger has passed and the soil temperature is above 60 degrees F.
- Spread seeds evenly and cover with ¼ inches of fine soil. Press the soil lightly and maintain even moisture.
- Seedlings typically appear in 10-21 days, occasionally taking longer in colder soils.
Planting in the Garden:
- Opt for a sunny area with nutrient-rich soil. Turn the top 6" of soil. Level and smooth the ground with a rake.
- Dig a hole for each plant large enough to amply accommodate the root ball. Carefully remove the plant from its pot and gently loosen the root ball with your hands to encourage good root development.
- Align the top of the root ball with the surrounding soil level. Fill with soil up to the root ball's top. Firmly press down the soil. Utilize the plant tag as a marker.
- Water in the plants then apply a light mulch layer on top of the soil to help conserve water and reduce weeds.
Share